Create a new Dataset
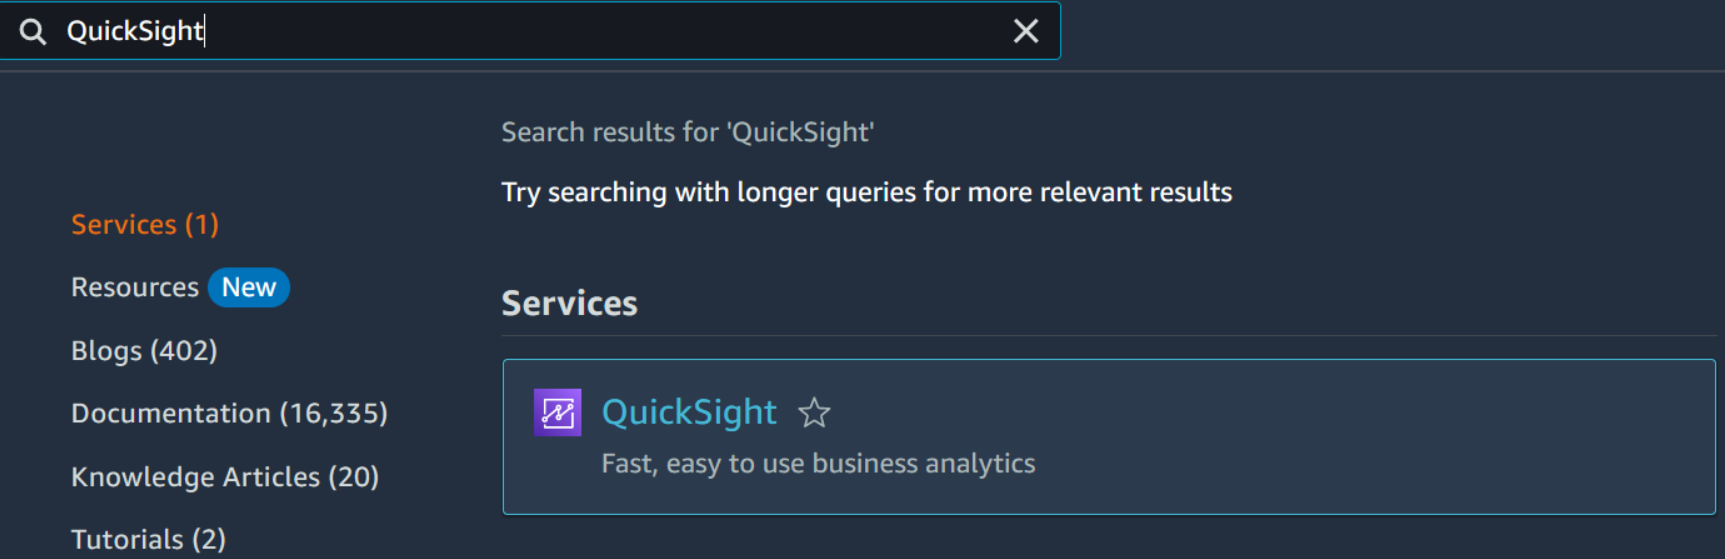
Firstly, navigate to AWS QuickSight via the AWS Management Console. Do so by going to the serach bar on the upper right of the AWS console screen. Type “QuickSight” and select the service.
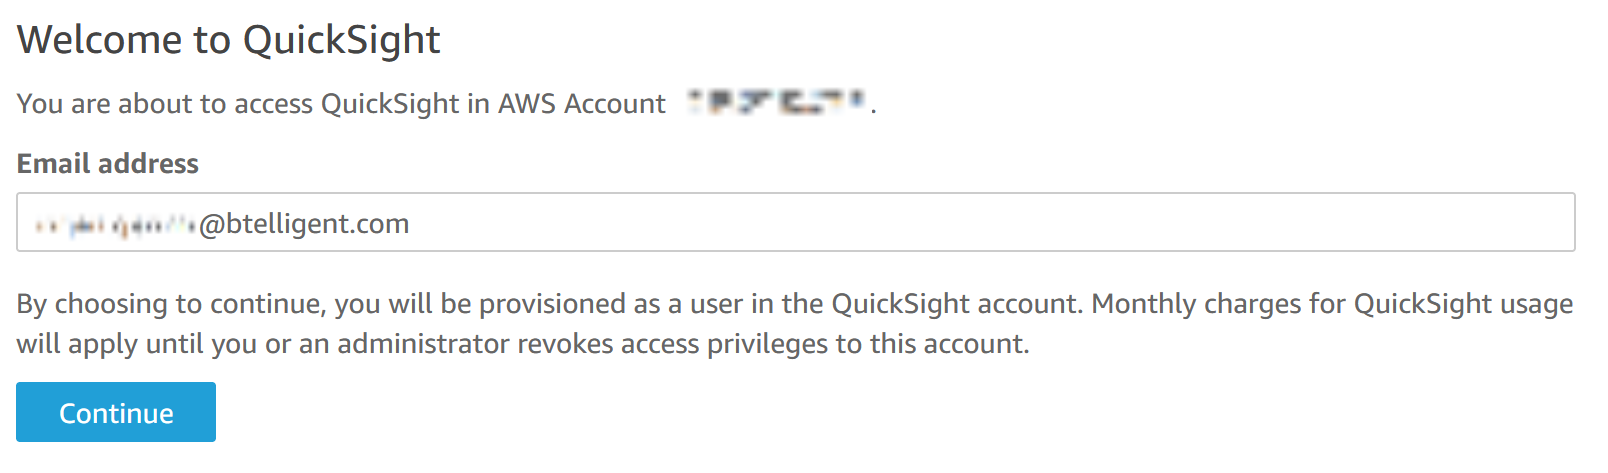
If you are accessing Quicksight for the first time, you will need to provide an email address to provision a user in the QuickSight Account. This user will have the necessary permissions to access and analyze data within QuickSight.
After successfully logging in, you will be redirected to the QuickSight main page. Here, you will find some sample datasets and analyses that are already created by default within QuickSight. These sample analyses are meant to provide you with a glimpse of QuickSight’s capabilities.

However, Quicksight just let you select one table or one view for a dataset. Complex datasets with joins can only be defined with the Use Custom SQL option of AWS QuickSight or with an adequate view defined on the underlying database. It is always a good idea to keep the process simple on the client side, therefore we define a view on the database which satisfies our needs. Execute the SQL statement below with your favourite SQL client:
CREATE OR REPLACE VIEW V_SIMPLE_SALES AS(
    SELECT 	C."city_id",
            C."country_code",
            C."city_name",
            C."area",
            C."area_short",
            S."PRICE"

    FROM VS_ATHENA_WORKSHOP."cities" C JOIN RETAIL.MARKETS M ON C."city_id" = M.CITY_ID
                                       JOIN RETAIL.SALES S   ON S.MARKET_ID = M.MARKET_ID
)
There is an important reason why we decide to create views on the database instead of defining complex datasets on the client side. Not only simplicity or performance of the Data Warehouse implementaion is ruling our design decision, but also the fact that tools for Data Warehouse Automation or Data Warehouse Design implement changes on the database, not on the client application.
You might wonder yourself, why sometimes field names are embedded in double quotes and sometimes not - Exasol stores field or object names in upper case letters. If, for whatever reason, field or object names are in lower case letter you have to embedd them in double quotes. Otherwise you will receive an error. If in doubt, it is ok to embed all field or object names in double quotes.
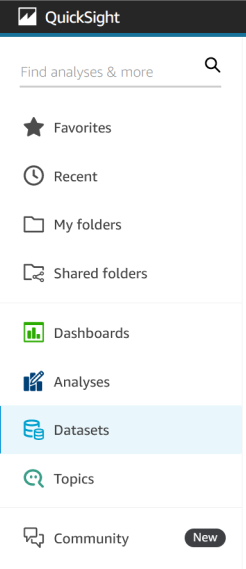
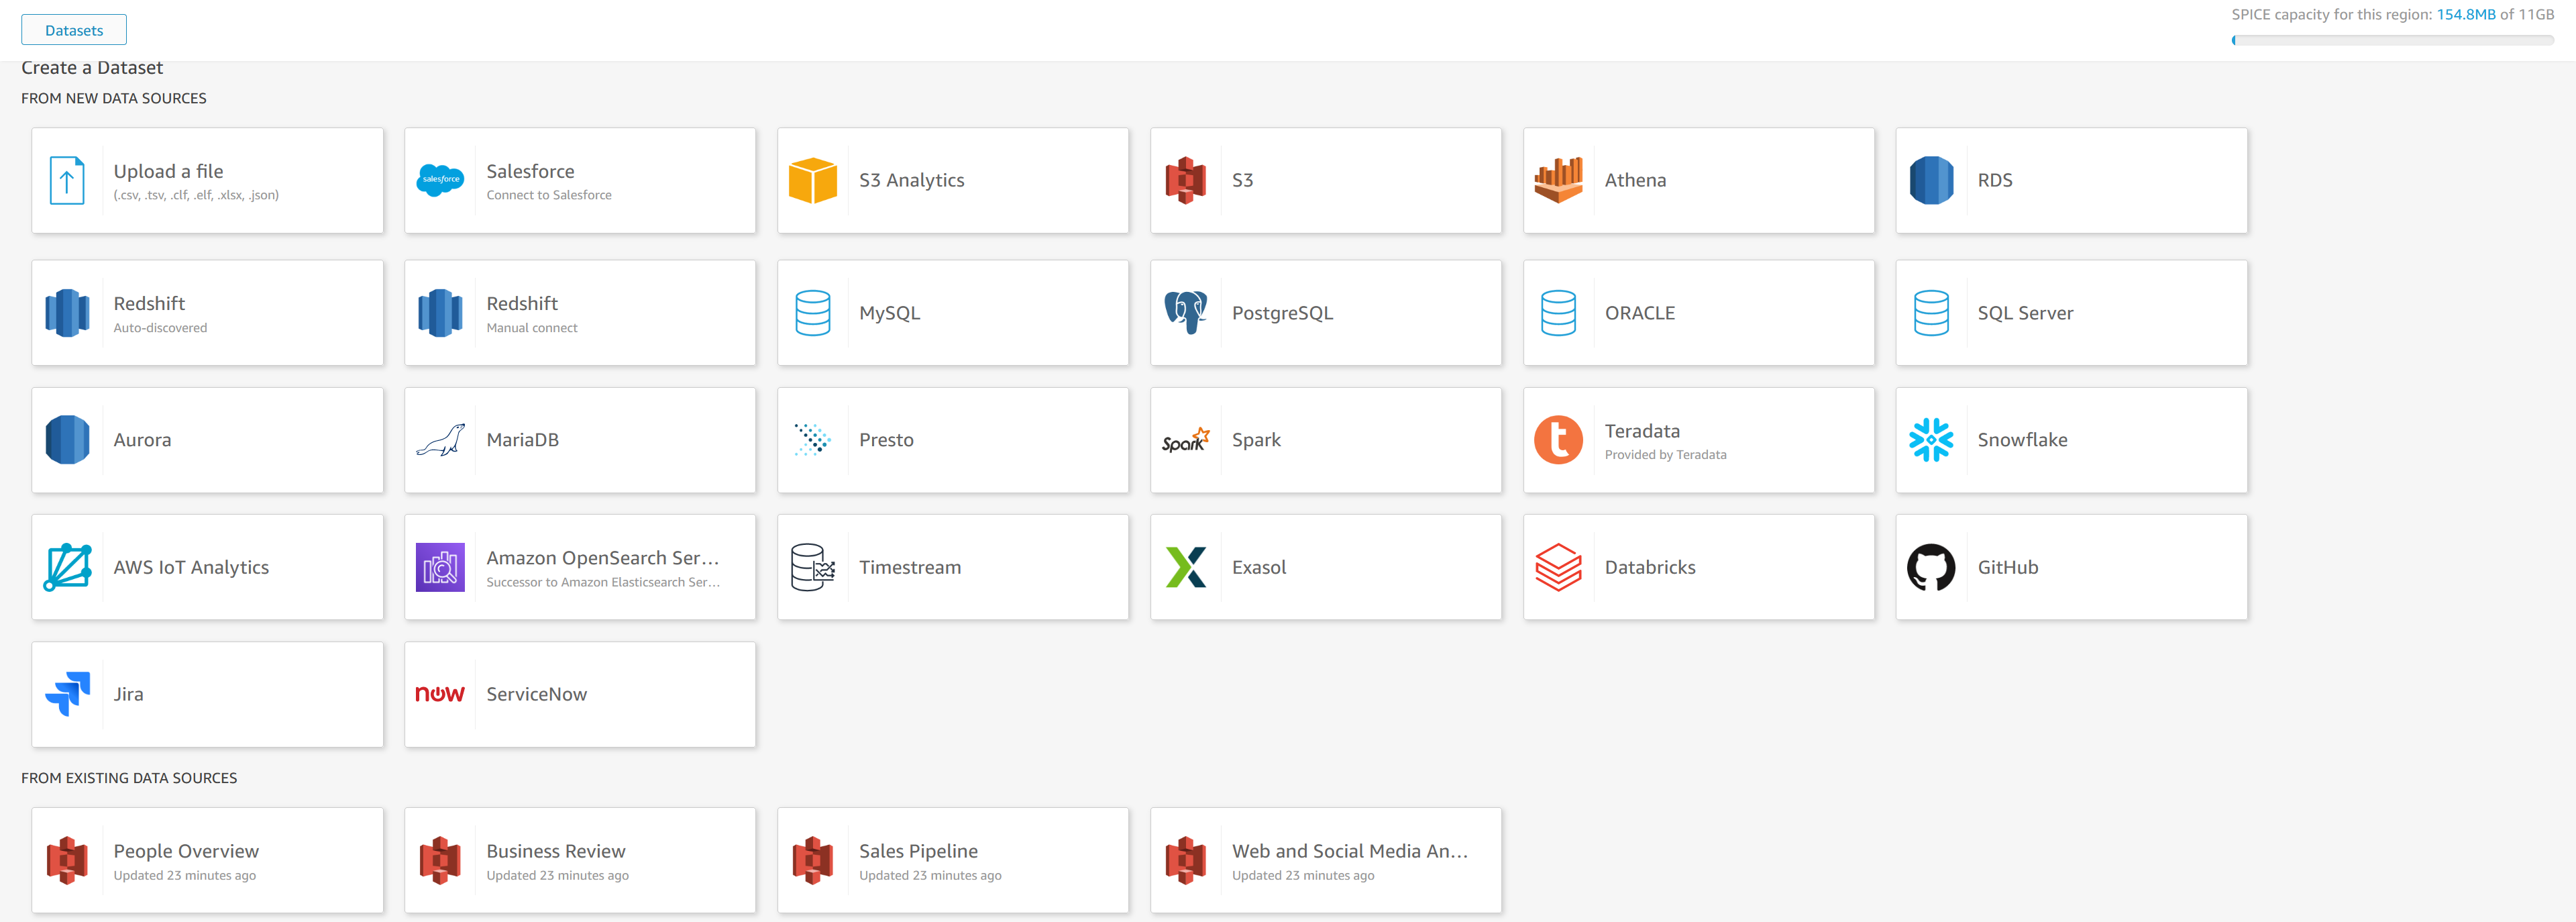
Now, we are ready to create datasets in QuickSight. On the left pane, select Datasets.
A list of existing datasets will be presented.
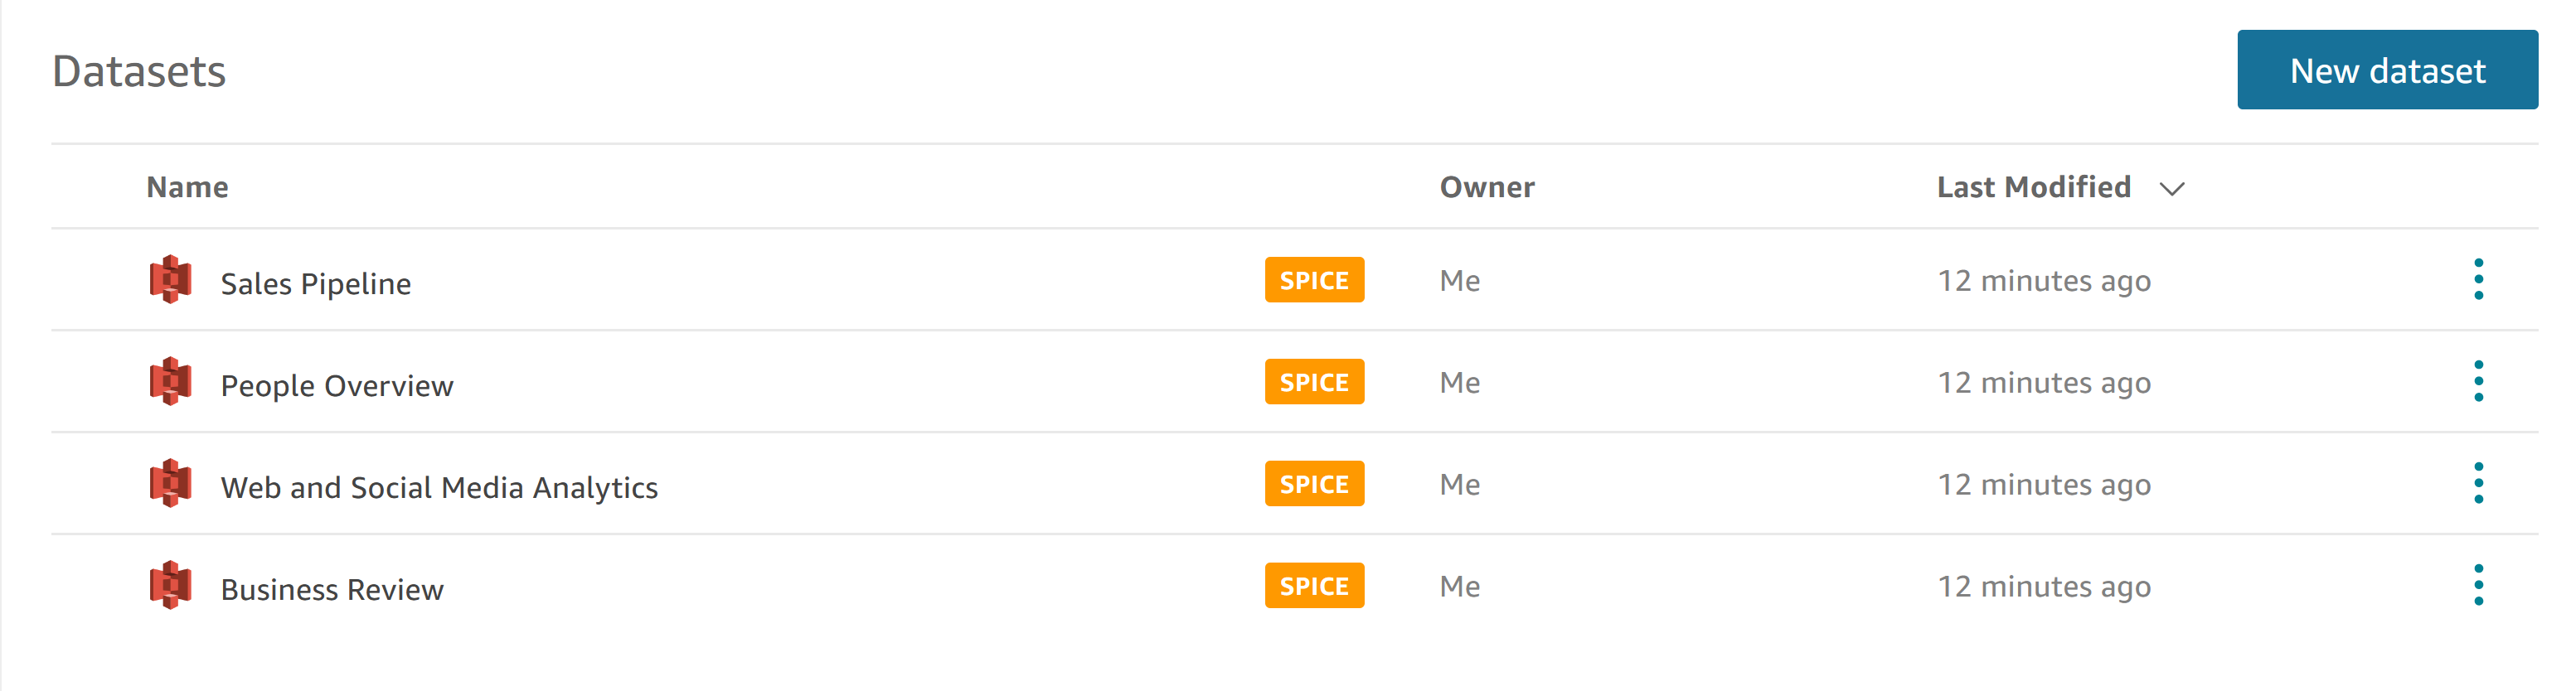
Click on the “New dataset” button located in the upper right corner of the Datasets page. This action will initiate the process of setting up a new dataset using the Exasol database as a source.
Select the “Exasol” data source option. QuickSight provides native integration with Exasol, enabling you to connect directly to your Exasol database without any complex configurations.
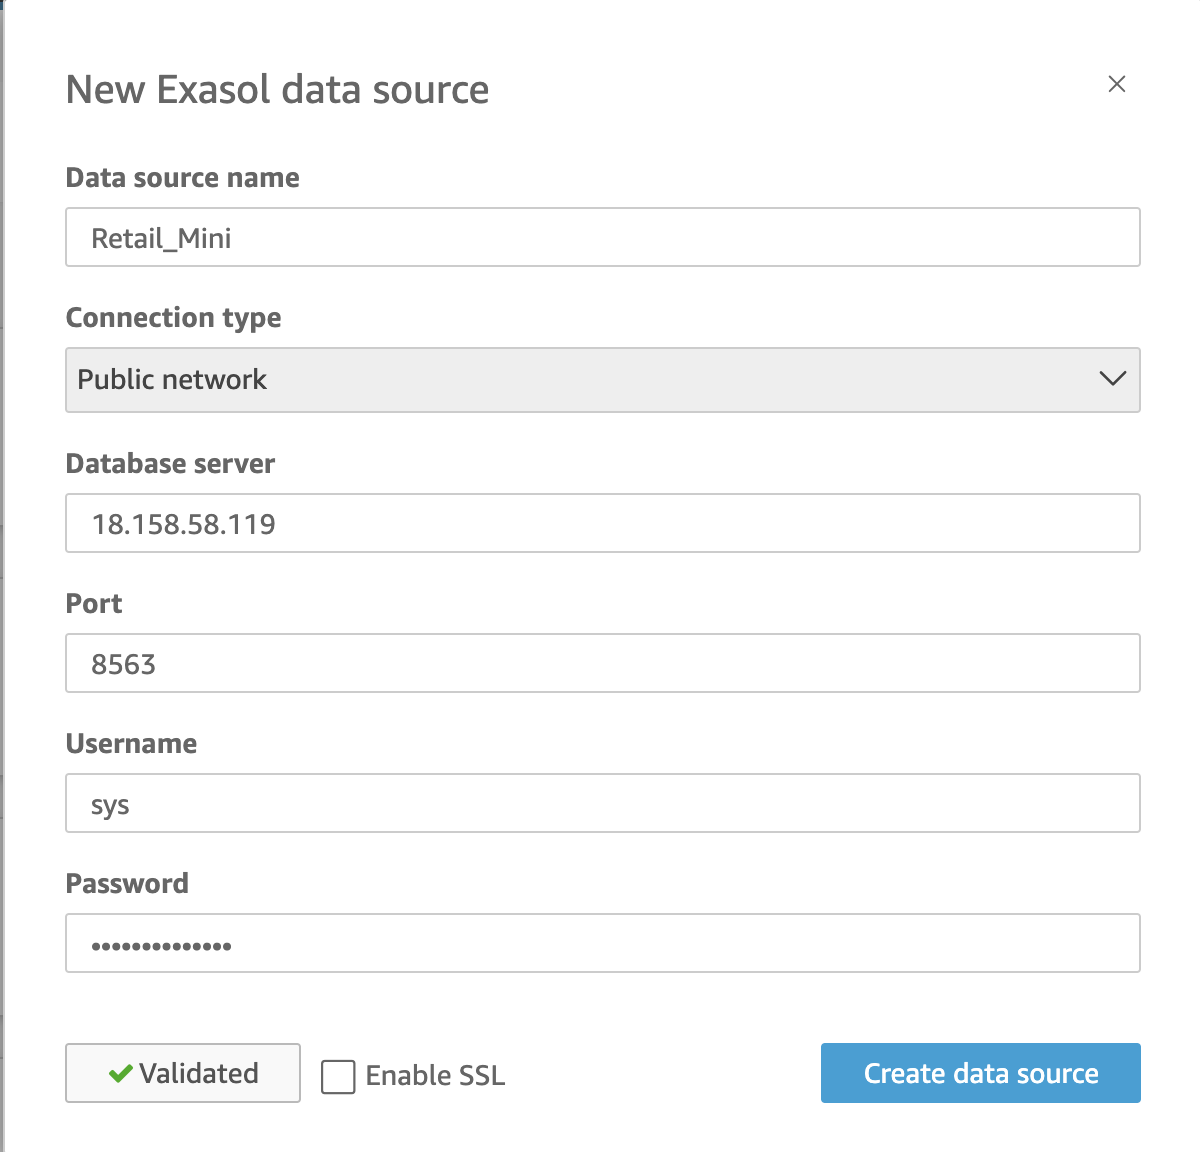
Fill in the required fields to establish a connection to your Exasol database. This includes providing the necessary connection details such as server address, port, and login credentials. After entering the information, validate the connection to ensure it is established successfully.
For the purpose of this workshop, disable (untick) the “Enable SSL” box. Once the validation is successful, click on “Create data source” to proceed.
With the Exasol data source successfully connected, you will see a list of available schemas and the respective tables you can choose from.
After selecting the appropriate schema RETAIL, choose the view V_SIMPLE_SALES that holds our data we will analyze. Click on Select to proceed.

Select the Directly query your data option to build the dataset using a direct query. This option allows you to leverage the power of Exasol’s processing capabilities directly for your analyses.
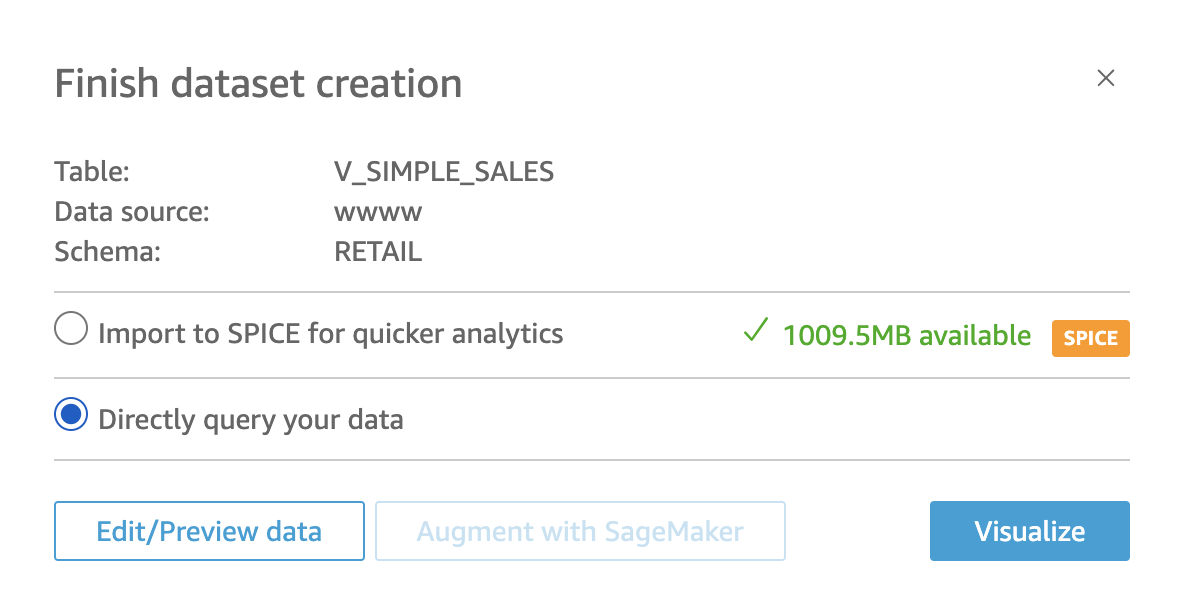
Clicking on Edit/Preview Data, this action will redirect us to a new window where you can do several things: preview table data, rename columns and descriptions, change data types, add filters, exclude fields, create calculated fields, and add parameters to your dataset.

Once you have made the desired changes, click on SAVE & PUBLISH in the upper right corner.
After saving the modifications, you will see your new dataset, named V_SIMPLE_SALES, listed on the Datasets page.

Click on SAVE & PUBLISH. After the dataset is saved, click on CANCEL to return to the Datasets page, where you will see the new dataset added to the list of available datasets.
CONGRATULATIONS! You have now created a new dataset from your Exasol data! Keep in mind that this datasets combines data from two different sources, the virtual schema we have created earlier with data stored in a S3 bucket and from data stored on the database itself.
In the next chapter we will be using this datasets to create visualizations.