Uploading Data with AWS Glue (Optional Task)
AWS Glue is Amazons ETL Solution for Extraction, Transformation and Load of data between different data instances, e.g. S3 Buckets or databases. It works serverless, so you have only to define the ETL job and Amazon AWS does the rest of the work for you.
We need to grant AWS Glue some permissions in order to act on your behalf. Follow the steps at
Setting up IAM permisssions for AWS Glue
for the set up of the policies and roles required.
Also, before we can start to use AWS Glue, we need to deal with the Exasol connector, which is not in the default list for data sources or targets. To prepare for the Exasol AWS Glue Connector follow the steps outlined on Exasol’s Github repository
Exasol AWS Glue Connector User Guide Exasol AWS Glue Connector on AWS
until the step Creating a Job, which we will do differently.
We are aiming for uploading the CITIES table into our database. Before we start the design of the ETL job, we will empty the table CITIES with the help of your favor SQL client:
TRUNCATE TABLE RETAIL.CITIES;
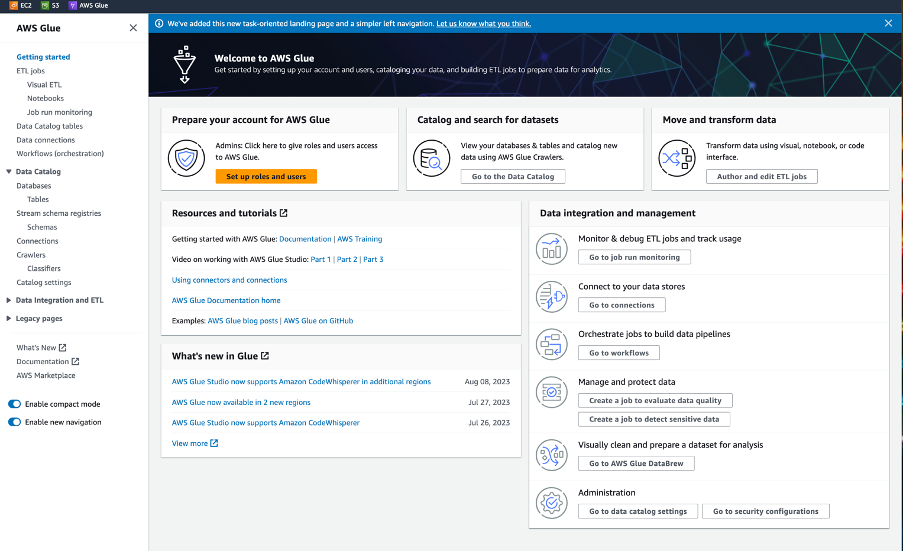
Now, go to the AWS Glue homepage:
which should look like the screenshot below:
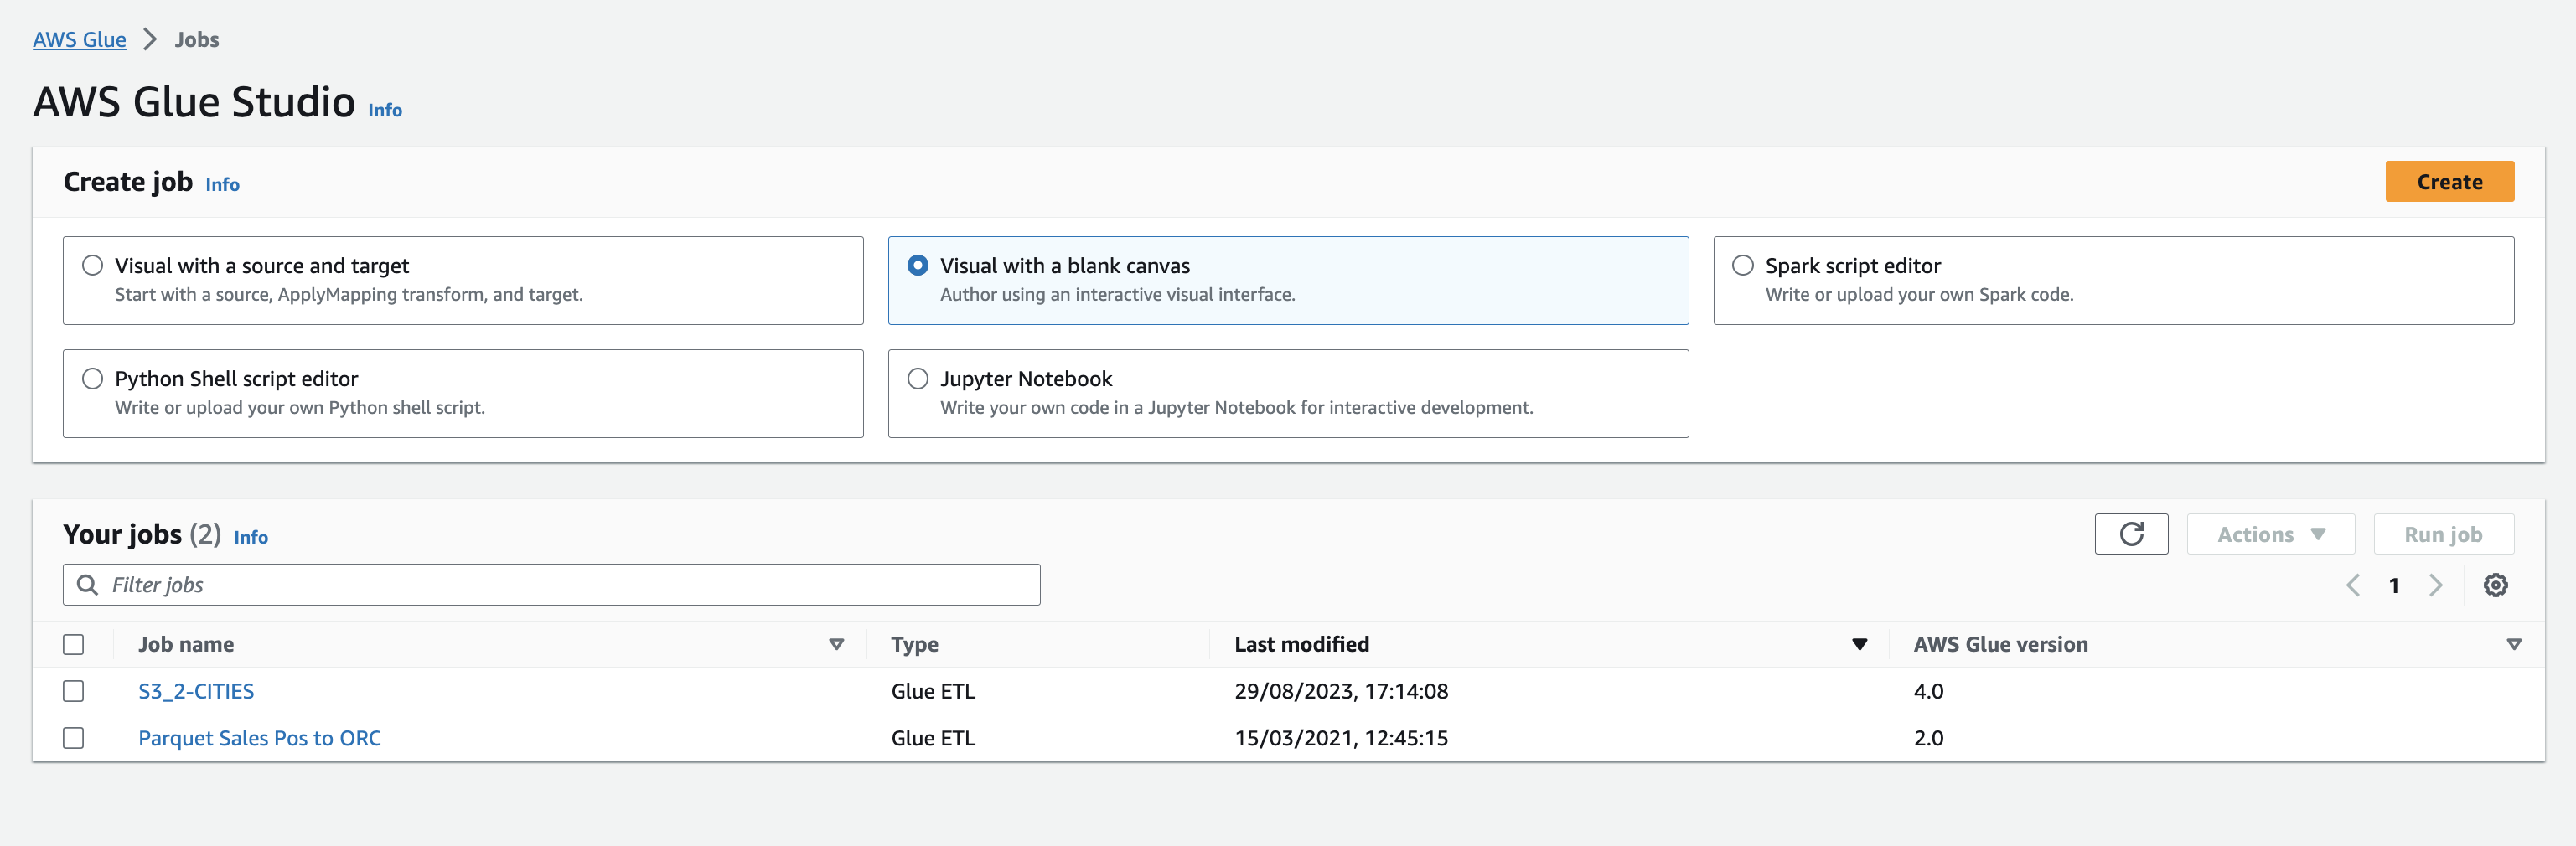
In the left pane click Visual ETL, and in the following page click Create with the option Visual with a blank canvas – see the screenshot below:
You will get into the Visual editor for creating an ETL job – with a clean canvas for designing out ETL job and a selection window for adding the first node.
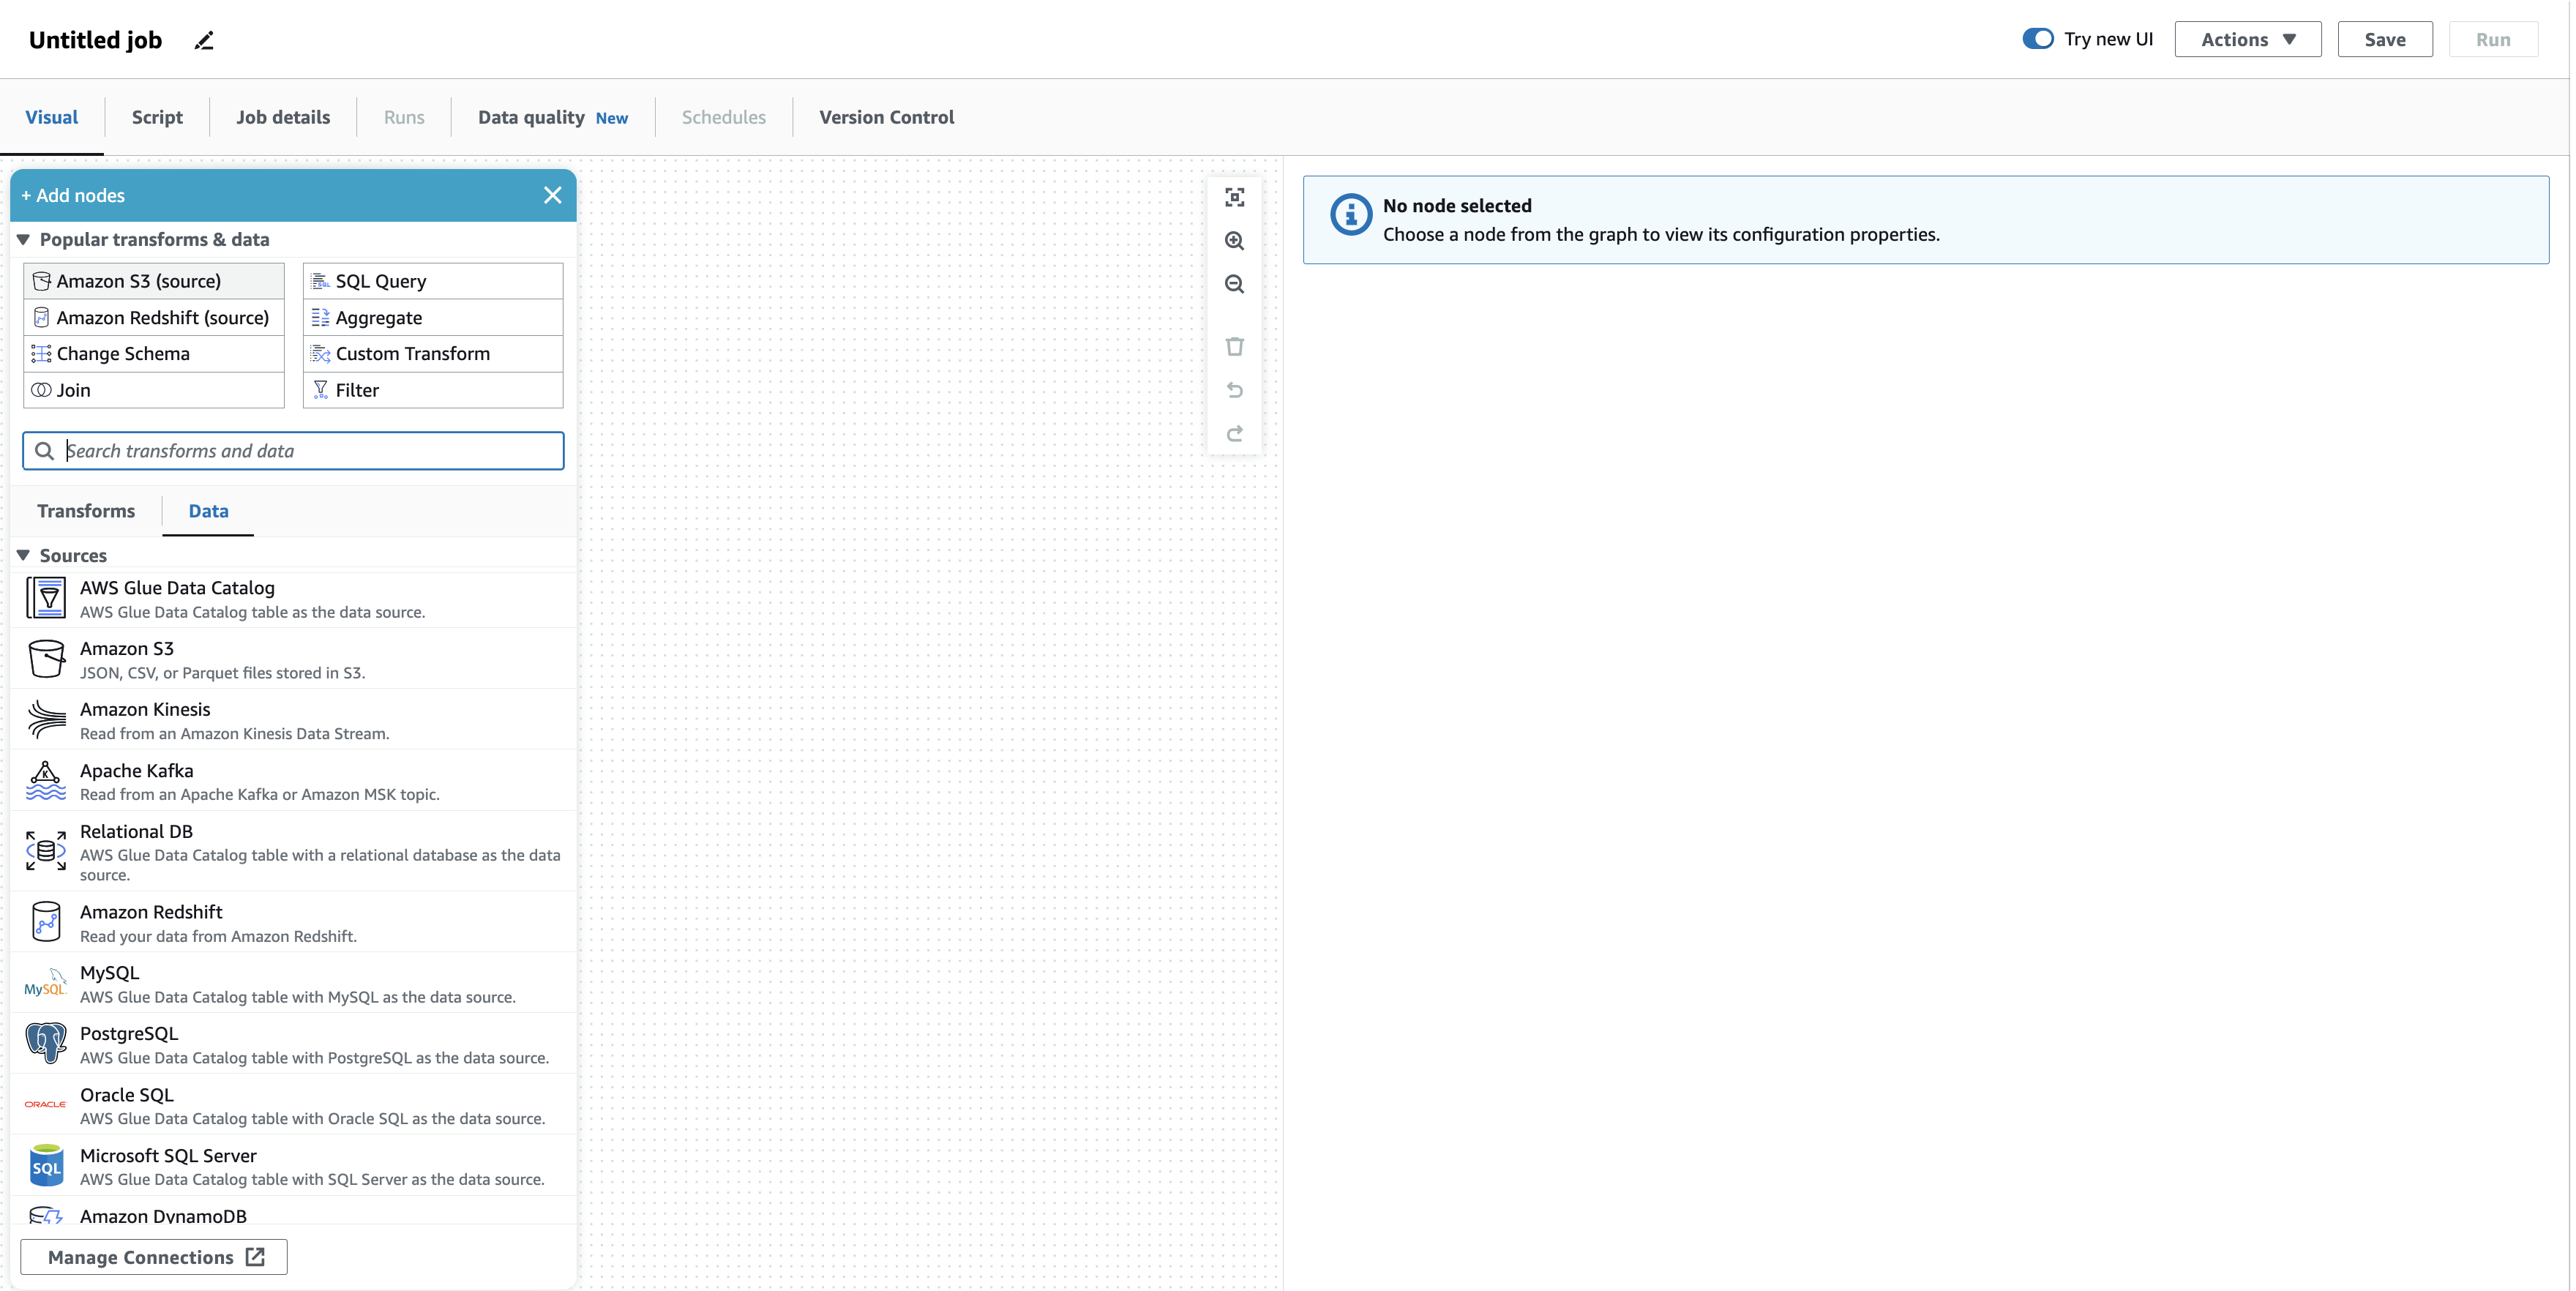
First, rename this ETL job and give it meaningful name e.g. S3_2_CITIES. Then select from the _ Add Nodes_ window _Amazon S3 (source)_, it is the upper left button.
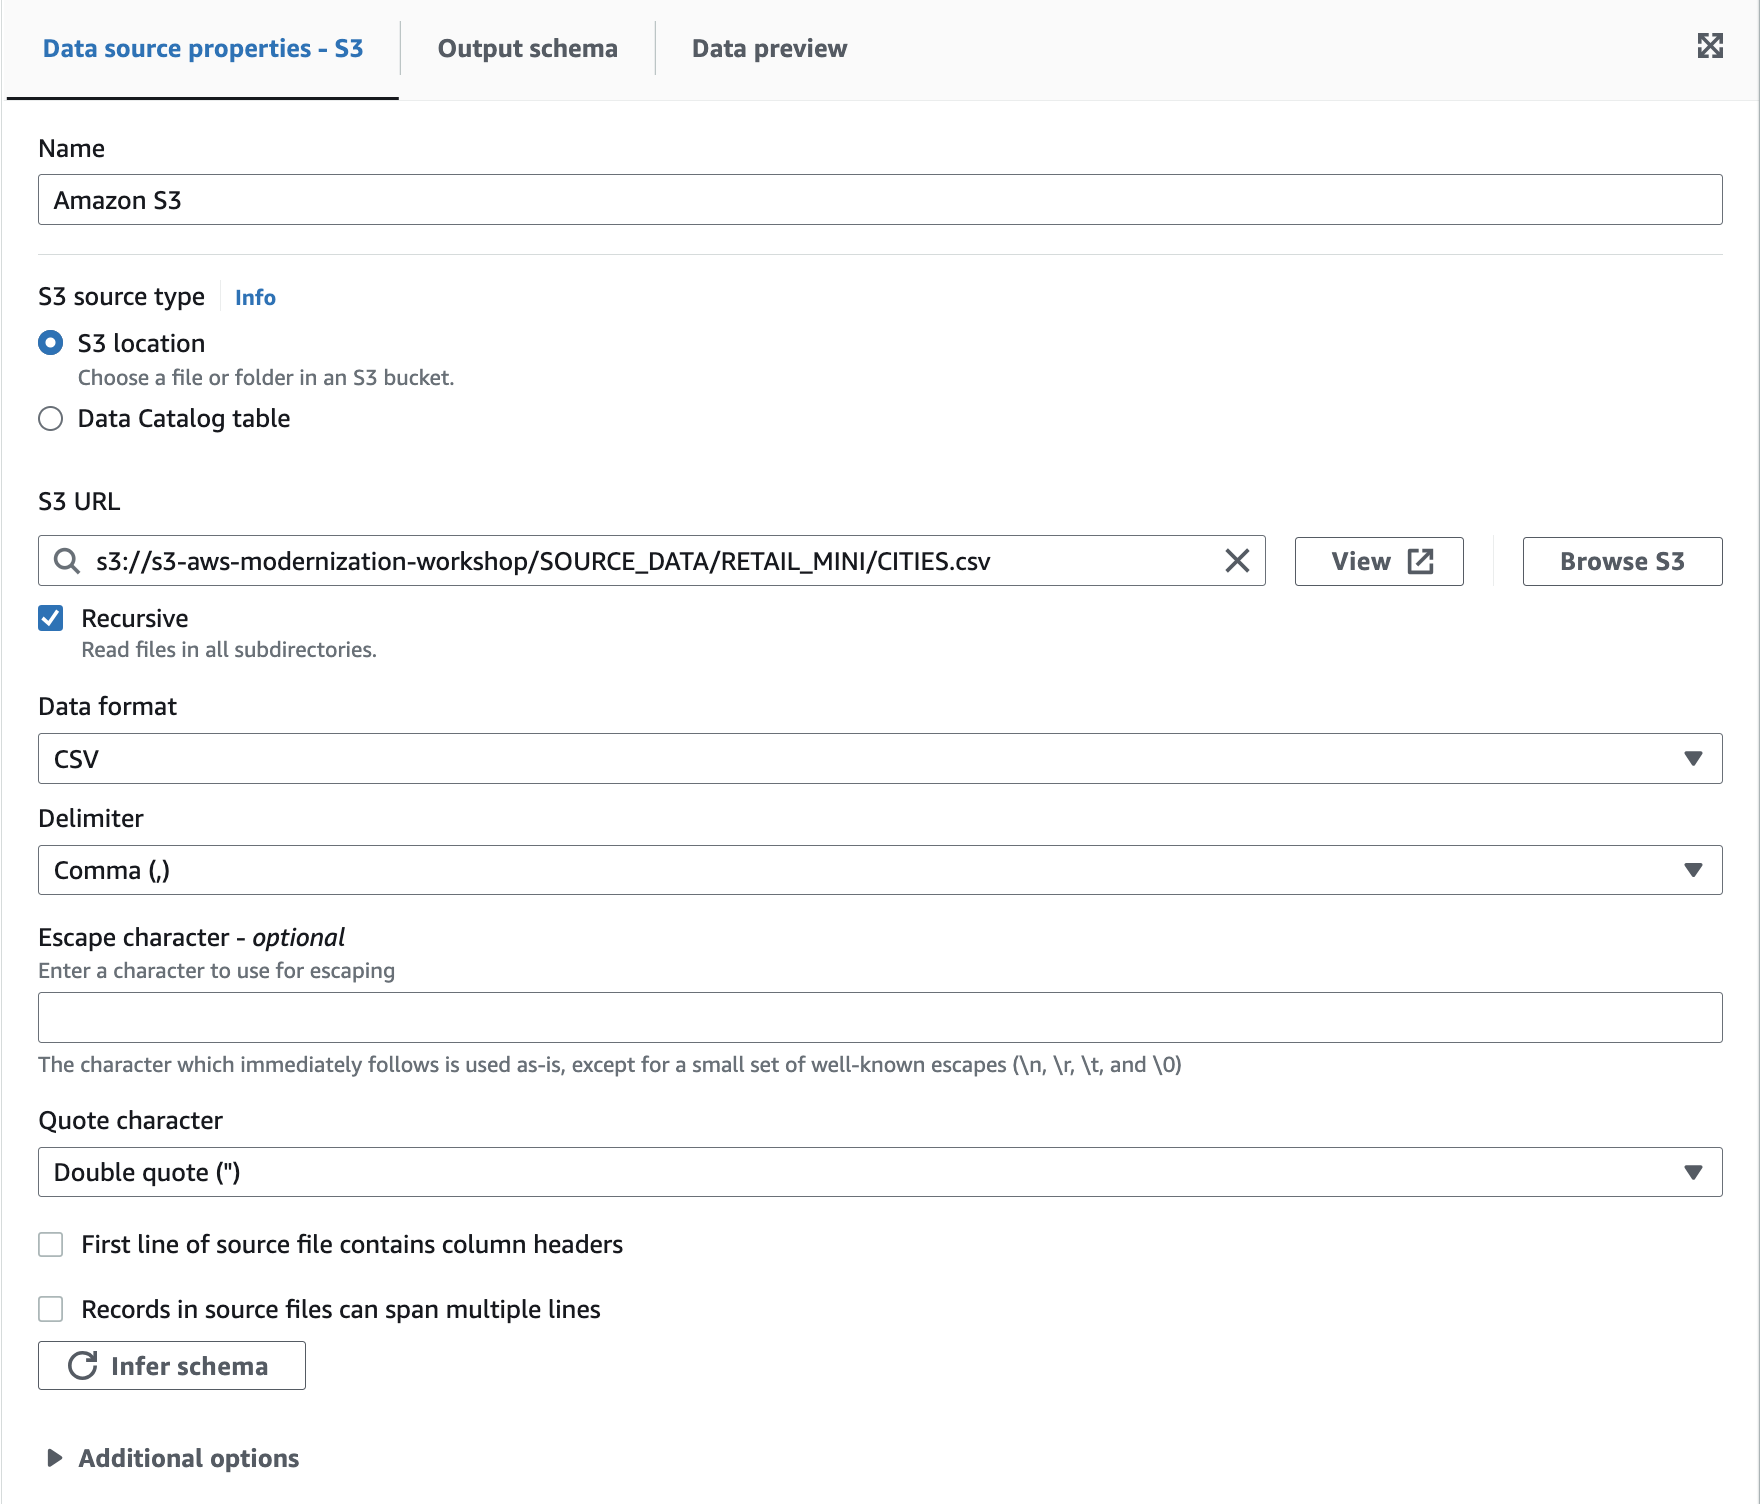
As a result, there should be only the S3 Bucket (source). Let’s start configuring the source node for our CITIES Table. Select the node and within the right Settings pane, press “Browse S3”, select your S3 Bucket containing all source files and select “CITIES.csv”. Select CSV for the data format, uncheck First line of source file contains column header, press the Infer schema button and leave all the other options as displayed. Your form should look similar to the screenshot below:
Now, click on Output Schema on the top middle tab - you should see a column listing like below:
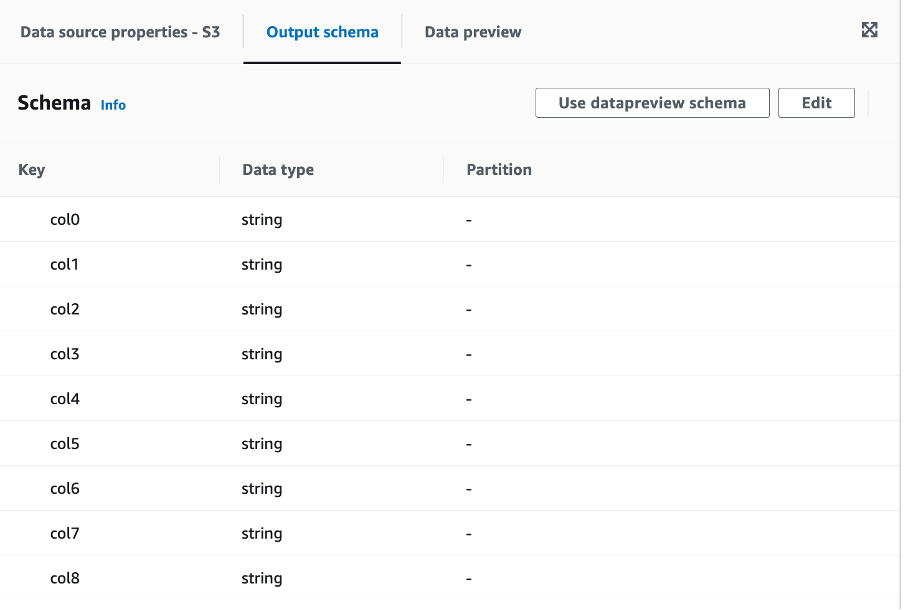
Press “Edit” in the upper right corner and enter the correct header names and Data types in the form as outlined below:
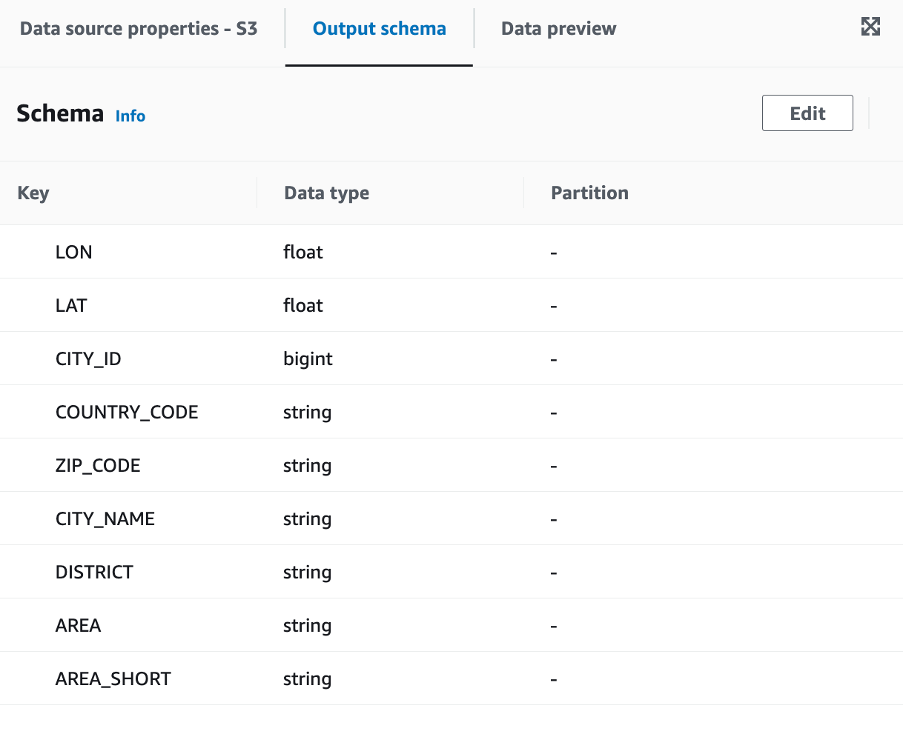
Enter “AREA_SHORT” before “AREA, but keep the order! Otherwise, Glue will present you a duplicate error in the form.
We have finished the source part of our ETL job. Let’s create the target part. In the canvas, press in the upper left corner the white plus sign. A new selection box opens and offers you a lot of different transformation options. Select the “Data” tab, scroll down to the “targets” section and select the Exasol Connector for AWS Glue.
~ ~
~
Your canvas should look now like the below screenshot:
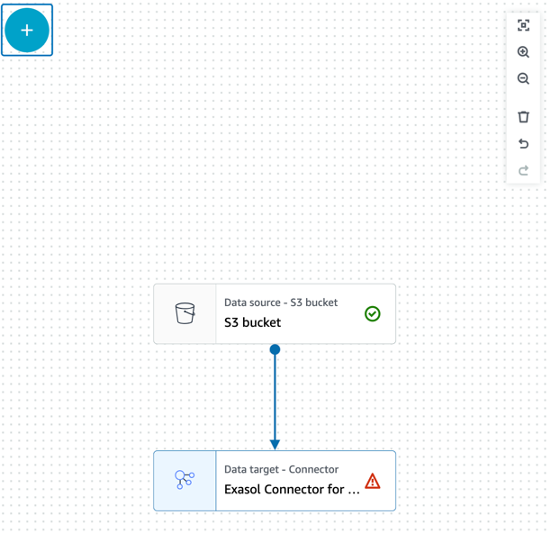
Next, we need to configure the database settings. The Exasol connector is the end point of our ETL job, therefore we do not need to set an output schema or preview data. In the right pane set the connection to the one you have created during setup of the prerequisites for the Exasol AWS Glue Connector. Furthermore, we need to define some options to make the node working. Press add new option and enter the following options as outlined in the screenshot below. Also, set the Node Parent, which in this case is our S3 Source Bucket.
Be aware: awsAccessKeyId, awsSecretAccessKey, S3Bucket are your individual settings. The password is the CCC_PLAY_DB_PASSWORD you have specified in “~/.ccc/config” and the IP address and the fingerprint is individual to your deployment. Here you must specify the host as:
jdbc:exa:<IP Address>/<Fingerprint>

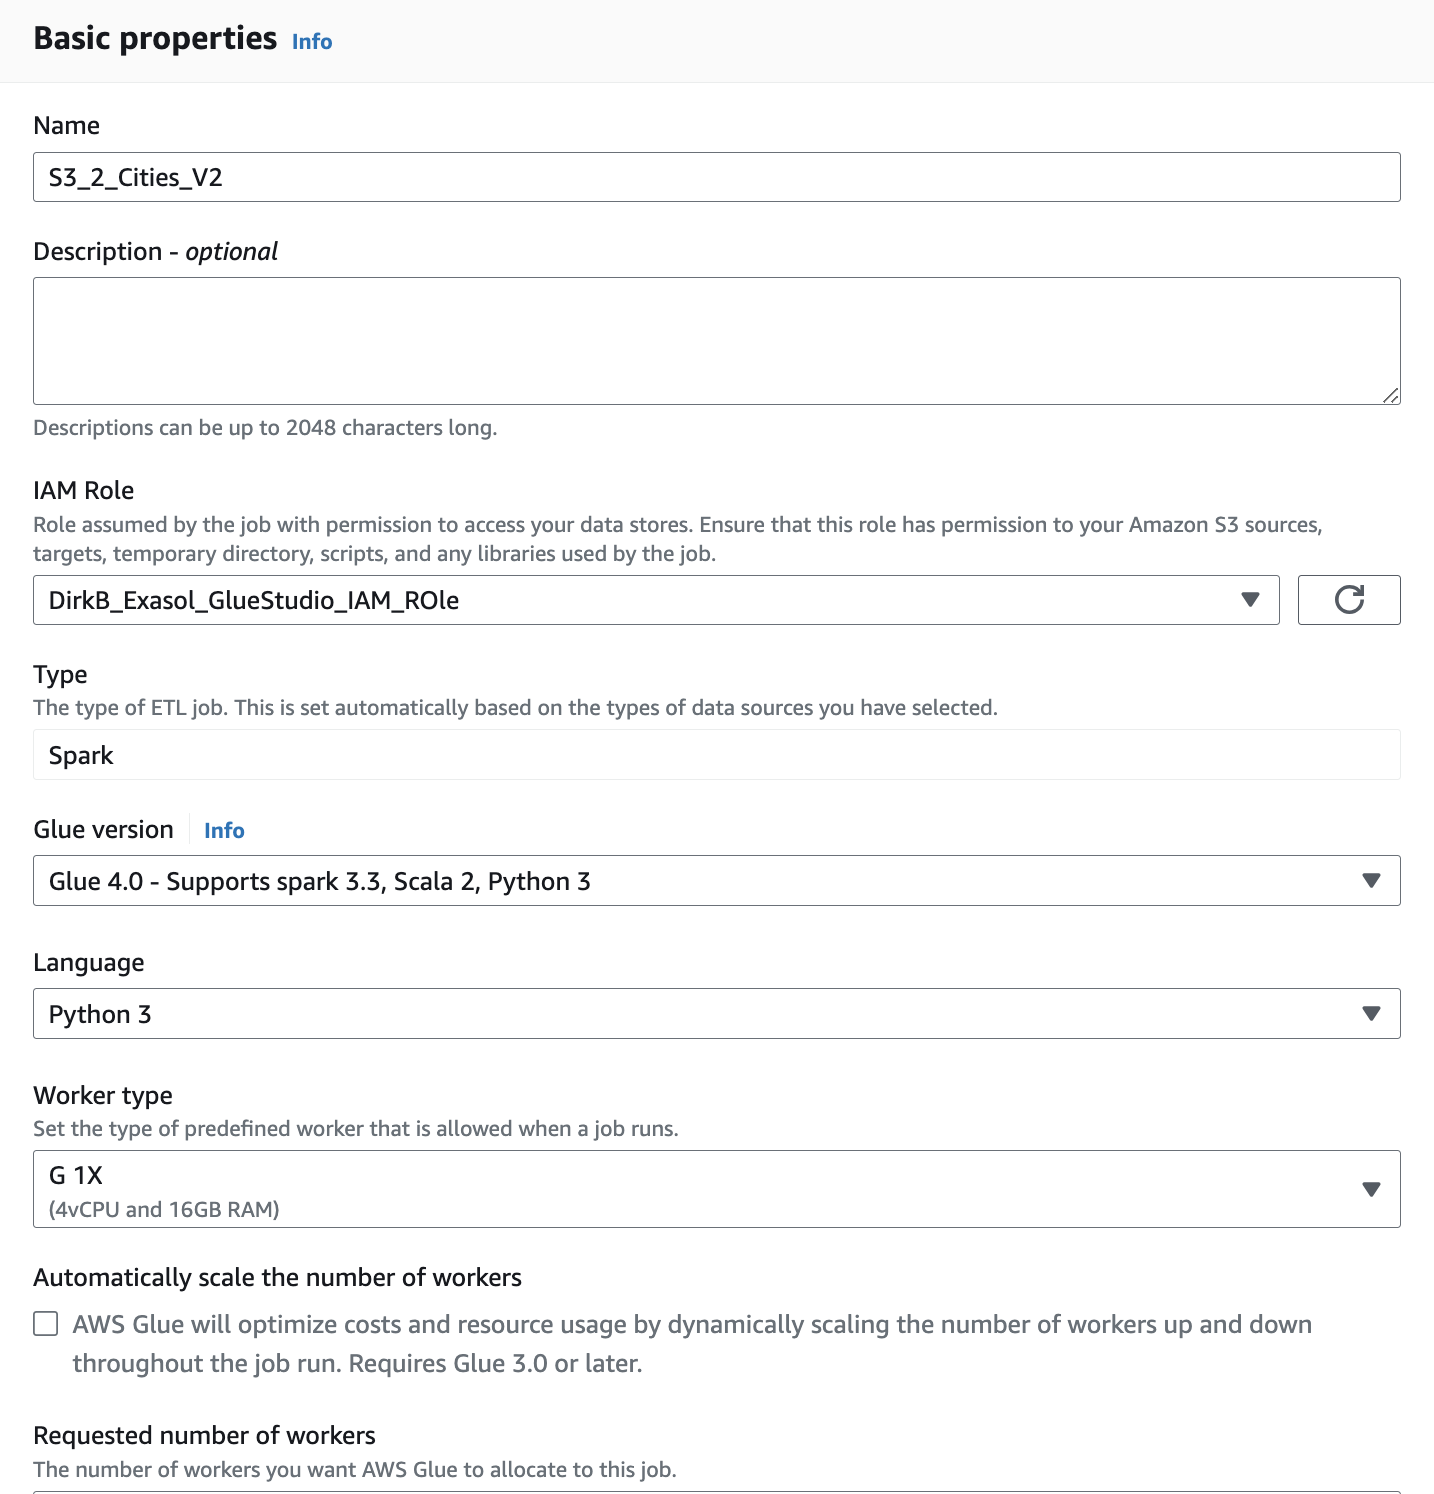
Finally, we need to entitle the ETL job to act on our behalf. Go to Job Details and under IAM Role_ select the role you have created in the prerequistes for AWS Glue:
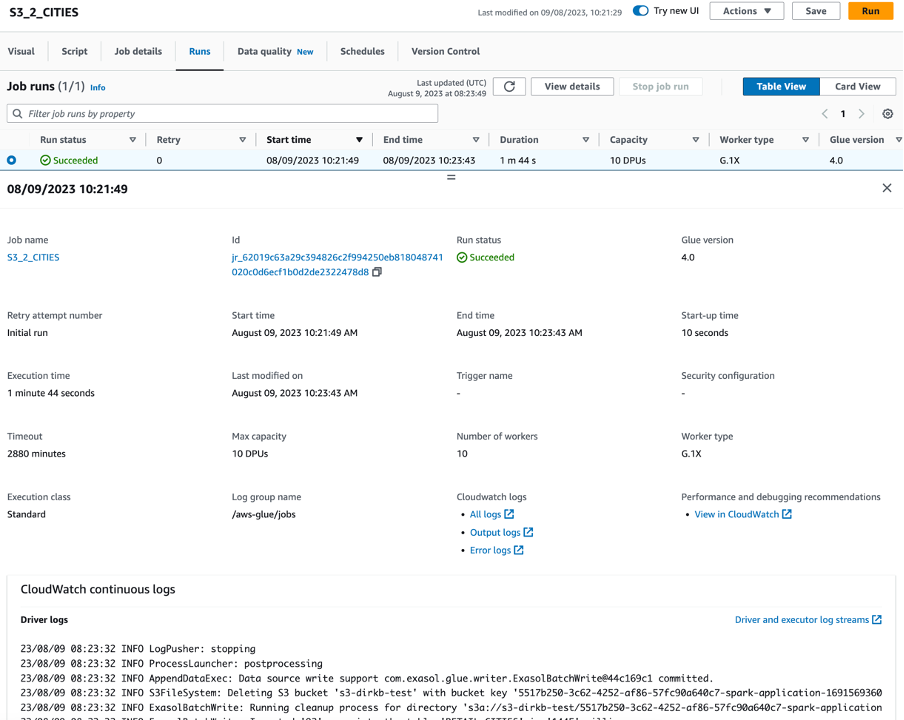
We have now a simple data upload job defined. Click in the upper row of the Visual Editor “Runs” and the press the orange button “Run”. AWS Glue now starts building up the ETL process and eventually uploads the data into the CITIES table in our database. You will see some runtime statistics as well as the log.
Finally, we are done with Module 1, including the optional AWS Glue data upload.