Exasol Virtual Schema
Virtual Schemas allow access to remote data sources as if they were local objects inside Exasol, instead of having to IMPORT these objects. You can also join a virtual table with a real table in Exasol, or with another virtual table. The only thing that’s not possible are insert, update and deletions. Virtual schemas are read only. With virtual schemas, you can have a quick access to all your data in foreign databases. You can integrate them in your analytical queries and get more insight out of your data. SELECT can then be used for access, as well as for non-relational data sources.
A Virtual Schema installation consists of these general steps:
- Download Athena JDBC driver from aws website
- Upload the Athena JDBC driver to Exasol’s BucketFS
- Setup Athena JDBC connection inside Exasol
- Upload Adapter Script and the associated driver to Exasol’s BucketFS
- Create Virtual Schema using Adapter script
Prepare the JDBC Driver installation
For installing JDBC drivers we need to upload the driver and a config file into the Bucket File System (bucketfs) of the Exasol database. As a first step we ensure correct settings and an easy password for the purpose of this tutorial for the default bucket. Execute the follwoing steps, assuming you have only one cluster deployed:
c4 connect -t1/cos
and
confd_client -c bucket_modify -a '{ bucket_name: default, bucketfs_name: bfsdefault, public: True, read_password: abcd1234, write_password: abcd1234 }'
followed by
exit
You should be on your deplyoment host again.
Ensure that the public attribute for the default bucket is set to True, as it is mandatory for the steps to follow.
Download Athena JDBC driver
The Athena JDBC driver is provided by AWS and can be downloaded from the following page.
In a shell go to the location where the JDBC driver has been downloaded to and issue the following command:
curl -k -X PUT -T AthenaJDBC42-2.1.1.1000.jar https://w:abcd1234@<IP from 1st cluster node>:2581/default/drivers/jdbc/AthenaJDBC42-2.1.1.1000.jar
Register the Athena JDBC driver
The Exasol V8 database needs some informtion about the driver you intend to upload. We create a config file named settings.cfg and add the following settings, e.g. with the vi editor:
DRIVERNAME=ATHENA_JDBC_DRIVER
JAR=AthenaJDBC42-2.1.1.1000.jar
DRIVERMAIN=com.simba.athena.jdbc.Driver
PREFIX=jdbc:awsathena:
NOSECURITY=YES
FETCHSIZE=100000
INSERTSIZE=-1
The DRIVERNAME parameter can be named anything in order to support a meaningful naming convention. The other JDBC related parameters are individual to a specific JDBC driver and be be looked up in the respective documentation of the particular driver.
Under no circumstances change the last two parameters FETCHSIZE and INSERTSIZE.
Ensure that every single line ends with Newline character, otherwise the registration of the JDBC driver will fail.
Check carefully the version number of the Athena JDBC driver, as it may be updated at any given time.
To register the driver, upload it to the database with the following command:
curl -k -X PUT -T settings.cfg https://w:abcd1234@<IP from first cluster node>:2581/default/drivers/jdbc/settings.cfg
Finally, we check if both files have been uploaded successfully:
curl -k https://<IP of first cluster node>:2581/default
You shoud see both files, including the path. You also might see other files, we can ignore them safely.
Setup Athena JDBC connection inside Exasol
In the next step we will create a connection object in the Exasol database.
CREATE OR REPLACE CONNECTION AWS_ATHENA
  TO 'jdbc:awsathena://AwsRegion=eu-central-1;S3OutputLocation=s3://aws-athena-query-results-output-bucket/'
  USER '<AWS_ACCESS_KEY_ID>'
  IDENTIFIED BY '<AWS_SECRET_ACCESS_KEY>';
The JDBC parameter AwsRegion specifies the region in which the Athena service has been created in aws. The further parameter S3OutputLocation specifies the location in which bucket the Athena results should be stored. To make this work without issues, the appropriate permissions and roles for the aws ACCESS_KEY must be set as well.
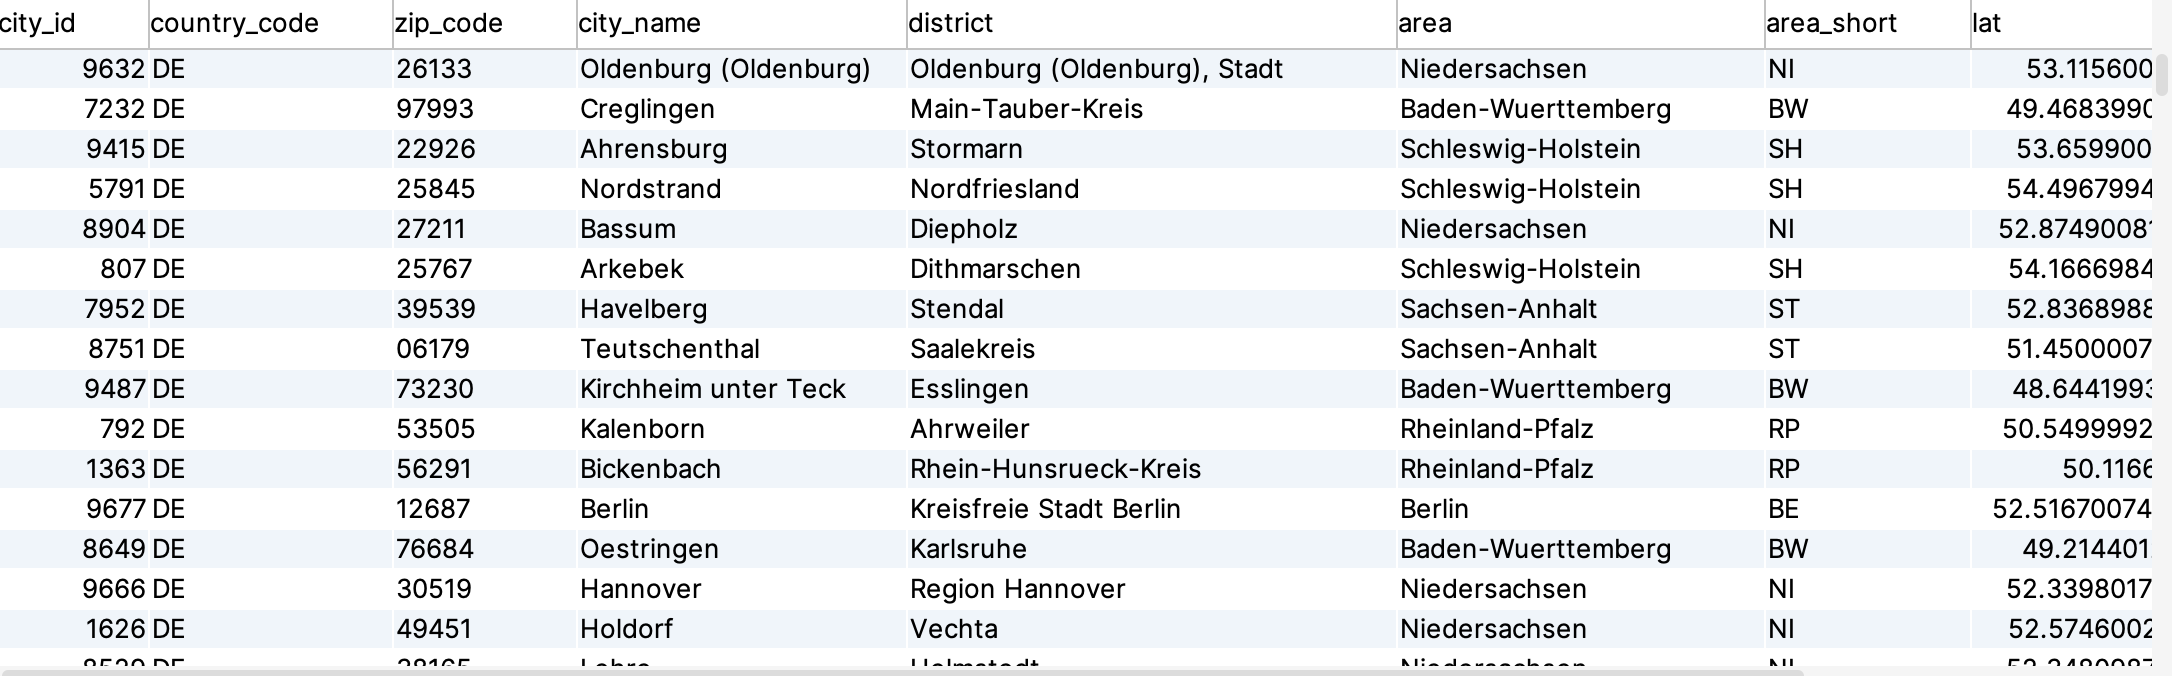
Exasol’s Virtual Schema already uses the IMPORT statement in the background to retrieve the data from the source database. However, this method is less comfortable and does not map the different data types to the Exasol data types. But with this method it is easy to check if the JDBC connection is working correctly.
SELECT *
FROM (
  IMPORT FROM JDBC AT AWS_ATHENA
  STATEMENT 'SELECT * FROM retail.dim_cities LIMIT 20'
);
Upload Virtual Schema Adapter to Exasol
For configuring a Virtual Schema in Exasol we need to upload another Java archive file. Please keep in mind that every supported data source for a Virtual Schema requires its own java archive - you can not interchange them! In case your data source is not supported you may use the Java archive / package for generic data sources. For more details visit:
Exasol Virtual Schema on Github
For organizational reasons we should not mix jdbc driver archives with java archives which serve different purposes. This time we store the java archive in a separate bucket within the Exasol bucket file system, which we need to create. Again, follow the steps as shown earlier:
c4 connect -t1/cos
followed by
confd_client -c bucket_add -a '{ bucket_name: jars, bucketfs_name: bfsdefault, public: True, read_password: abcd1234, write_password: abcd1234 }'
end
exit
You now have created a new bucket, named jars, where we can store our java archive files:
curl -k -X PUT -T virtual-schema-dist-9.0.3-athena-2.0.0.jar \
     https://w:abcd1234@<IP from first cluster node>:2581/jars/virtual-schema-dist-9.0.3-athena-2.0.0.jar
We have the JDBC driver for Athena, which we need for a virtual schema, already installed in the previous step. We do not need to install it again. We just need to reference it accordingly, which we will do in the next step…
Create Virtual Schema using Adapter Script
Now we are ready to generate the Adapter script, but first we need to adjust the appropriate paths from BucketFS.
--/
CREATE OR REPLACE JAVA ADAPTER SCRIPT ADAPTER.JDBC_ATHENA_ADAPTER AS
  %scriptclass com.exasol.adapter.RequestDispatcher;
  %jar /buckets/bfsdefault/jars/virtual-schema-dist-9.0.3-athena-2.0.0.jar;
  %jar /buckets/bfsdefault/default/drivers/jdbc/AthenaJDBC42_2.1.1-1000.jar;
/
The script is now available, in the last and final step we need to execute the CREATE VIRTUAL SCHEMA statement
CREATE VIRTUAL SCHEMA VS_ATHENA_WORKSHOP
 USING ADAPTER.JDBC_ATHENA_ADAPTER
 WITH
 CONNECTION_NAME = 'AWS_ATHENA'
 SCHEMA_NAME = 'retail_mini';
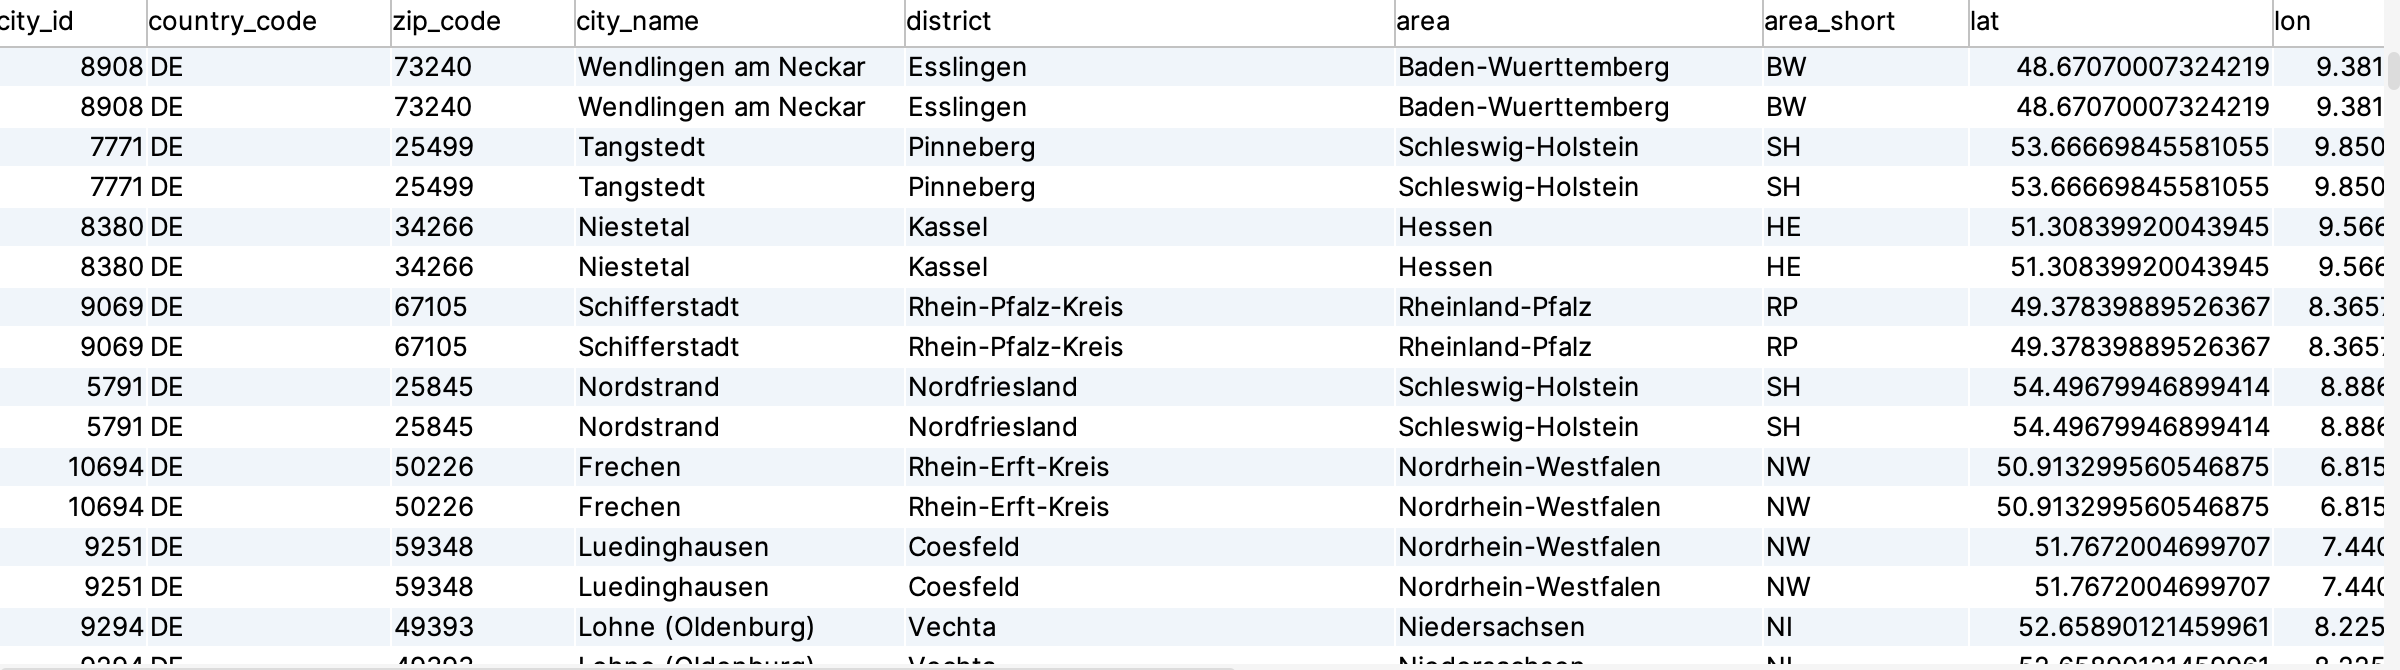
The Exasol Virtual Schema is now created and can be used like a native schema within Exasol. We join a the CITIES table from our Virtual Schema stores in a S3 bucket on AWS with the MARKETS table from our RETAIL schema stored on Exasol
SELECT *

FROM VS_ATHENA_WORKSHOP."cities" C JOIN RETAIL.MARKETS M ON C."city_id" = M.CITY_ID
Versions of the used archives or packages for the Virtual Schema or JDBC adapter may have changed since the creation of this tutorial. Please adapt the filenames accordingly.
Limitations of Exasol Virtual Schema
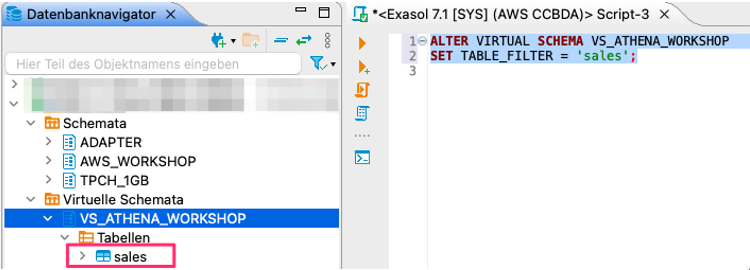
Once the virtual schema has been created, users can be granted access to it. You cannot grant access to certain tables within the schema, but you can exclude tables from the Virtual Schema. If we would like to limit access to only certain tables, we can use the TABLE_FILTER property of the virtual schema.
ALTER VIRTUAL SCHEMA VS_ATHENA_WORKSHOP
SET TABLE_FILTER = 'sales';
Setting the TABLE_FILTER to NULL removes that limitation again.
ALTER VIRTUAL SCHEMA VS_ATHENA_WORKSHOP
SET TABLE_FILTER = null;
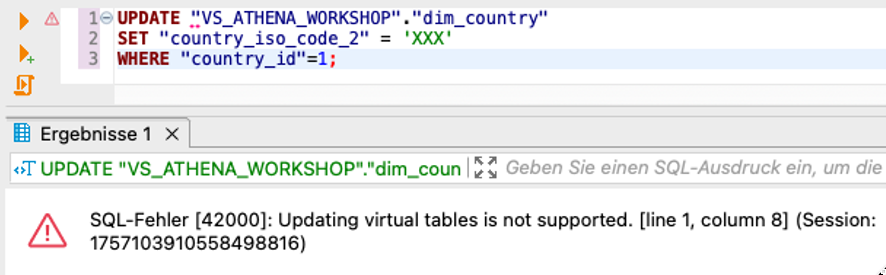
DML is not allowed, the UPDATE command will fail with an error message.
A REFRESH statement is also required after objects have been added to the remote schema or if existing table structures were changed.
ALTER VIRTUAL SCHEMA VS_ATHENA_WORKSHOP REFRESH;
A DROP VIRTUAL SCHEMA statement will only remove the declaration of the virtual schema from Exasol. The tables residing on the remote source will not be affected.
DROP VIRTUAL SCHEMA VS_ATHENA_WORKSHOP CASCADE;